Adding a location to your Snaps and Stories can make them more engaging and relevant. With that, you can share a cool place you've visited, attend an event, or promote a business. In this article, we will summarize the step-by-step guides on how to add location on Snapchat, as well as cover related topics like location filters, adding a location to your Snapchat Story, and even how to fake a live location.
In this article:
Part 1. How to Add Location on Snapchat
Snapchat makes it easy to add a location to your snaps, here are the guides on how to add Snapchat location on Android and iOS. Processes are not so different in either system.
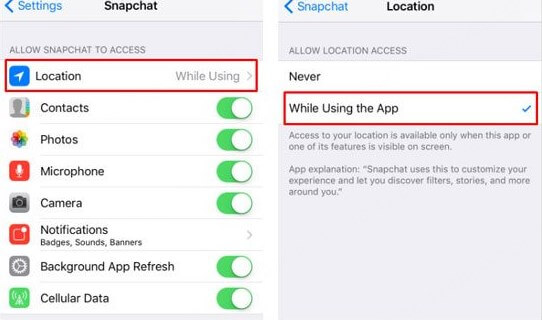
- Go to Setting, check, and ensure Snapchat location access is set to "Always" or "While Using the App."
- Launch Snapchat and take a picture or video snap.
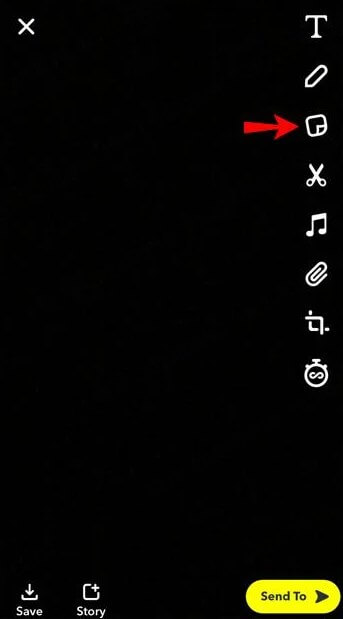
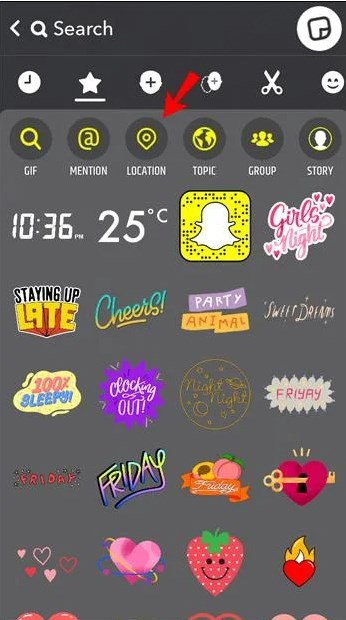
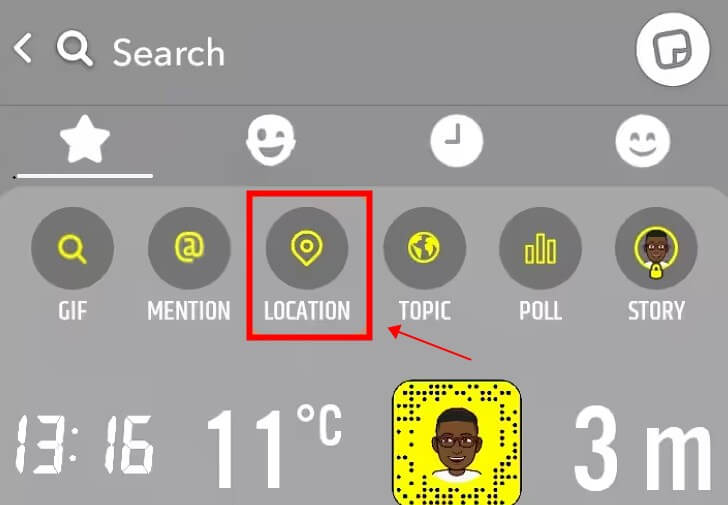
- Swipe up from the bottom of the screen tap the sticker icon, and and select the "Location" sticker.
- Choose the location you want to add from the list or search for it in the search bar.
- Place the location sticker on your photo or video as desired, then send or post it.
Now, your friends will be able to see where you are, and you'll have added some context to your snap.
Part 2. How to Add Location on Snapchat Filter
A location filter, also known as a Geofilter, is a specific type of overlay that appears based on your geographical location. These filters often display the name of a city, event, or business. In conclusion, this is a feature that can transform a regular photo into something creative and fun. Here's how to add a location on Snapchat using filters.
- Open the Snapchat app and take your snap.
- Swipe left or right to scroll through various filters. If location filters are available, they will appear based on where you are.
- Once you find a filter you like, stop swiping and it will apply to your snap.
- After adding the filter, you can share the snap with friends or post it to your Story.
Part 3. How to Add A Location on Snapchat Story
Want to share where you are with all your friends on Snapchat? Adding a location to your Snapchat Story is simple and helps add context for those following along. If you are wondering about how to add a location to your Snapchat story, follow the quick guides here.
- Like adding a location filter, the first thing you need to do is take a snap or video you want to share with your followers.
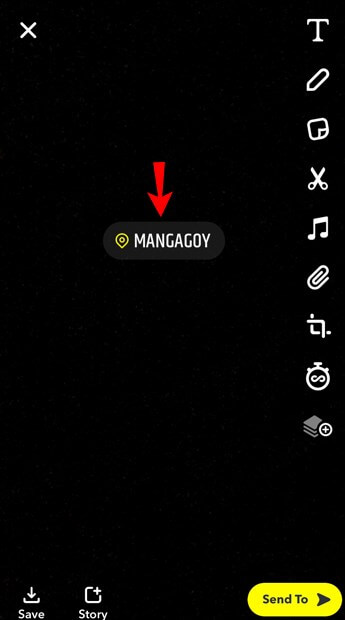
- Access the sticker menu, tap on the location sticker, and either select a nearby location or search for one manually.
- Once you've added the location, tap the Story icon at the bottom left corner to add the snap to your Story. Now all your friends can see where you are.
Part 4. How to Add Business Location on Snapchat
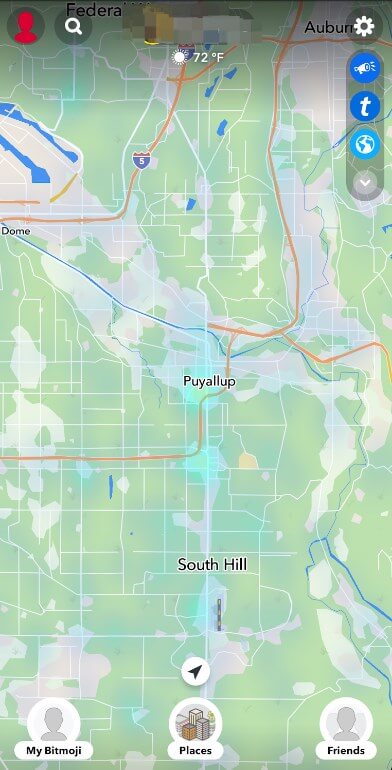
If you're a business owner, adding your business location on Snapchat can be an effective way to promote your services. In this case, your customers know where to find you and get stronger exposure for local promotion. To set up a location for your business on Snapchat, you might follow the guide below.
- Unlike before, to create a custom location-based filter for your business, you should go to the official Snapchat Geofilters page.
- You can either create a custom design using Snapchat's tools or upload your own filter design. Just make sure it represents your brand.
- Then, specify the location where you want your filter to be available. You can draw a virtual "fence" around the area where the filter will be active.
- Now, choose when you want the filter to go live and for how long it will be available.
- After setting everything up, you'll pay for the Geofilter based on how long you want it to run and the size of the location area.
- Finally, it will go live during the time frame you've chosen.
Part 5. How to Fake Live Location on Snapchat
We have learned about how to add location on Snapchat. There might be times when you need to change your location on Snapchat and access some filters or Stories that aren't available in your area. Snapchat doesn't have a built-in feature for this. However, you can use WooTechy iMoveGo.
WooTechy iMoveGo is a widely-used tool that lets users change their phone's GPS location. It works seamlessly with any app that uses GPS, including Snapchat. With WooTechy iMoveGo, you can easily set your Snapchat location to appear anywhere in the world and share it with others.
How to Fake Snapchat Location via WooTechy iMoveGo
Step 1: Download and install WooTechy iMoveGo on your devices. It is available for Win, Mac, Android and iOS. Here we installed it on Android.
Step 2: Run the application, click Get Started and select iMoveGo as the mock location on Developer Options.

Step 3: Enter or select a location that you want to fake your Snapchat location to, and click Move. Then, your location on Snapchat will be instantly updated.
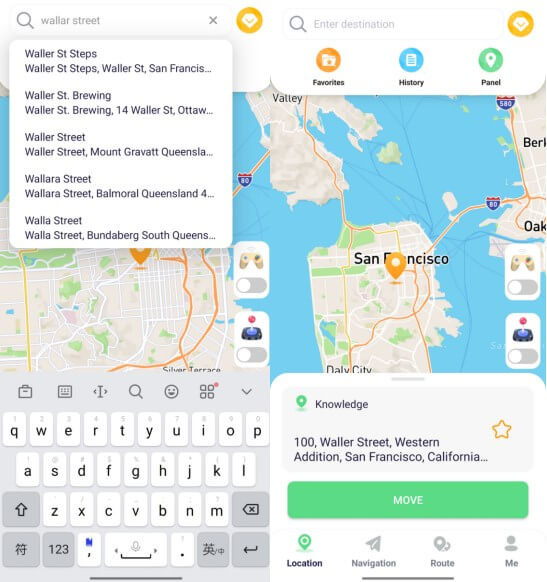
Step 4: Now, open Snapchat, and it will think you're in the location you chose. You can use location filters, share your location in Stories, and more.
Conclusion
Now that you know how to add your location on Snapchat, you can get creative and use this feature to enrich your content. If you ever want to set a fake live location on Snapchat, you can try using WooTechy iMoveGo to make it happen.


